
Harvesting and Milling Checklist
BE PREPARED AND MAKE IT EASY
If you’re not prepared, the words joy of harvest might quickly be replaced with the pain of a hot mess. Having a crew ready, your harvesting equipment in working order, and transportation vehicles arranged to carry your fruit to the mill are just a few of the preparations that really need to go per plan. Because we have run our own mill for a long time for ourselves and our clients, we know how a small overlook can snowball. Start by keeping close track of your olive ripening process! Three weeks before you intend to harvest:
Stop spraying against the olive fly.
Make sure your olive harvesting equipment like rotovibrational harvesters and harvest buckets are all in functioning order.
Book a milling date and review the specific instructions from your miller.
Arrange for a harvest crew and harvest bins.
Arrange for a way to transport your olives to the mill.
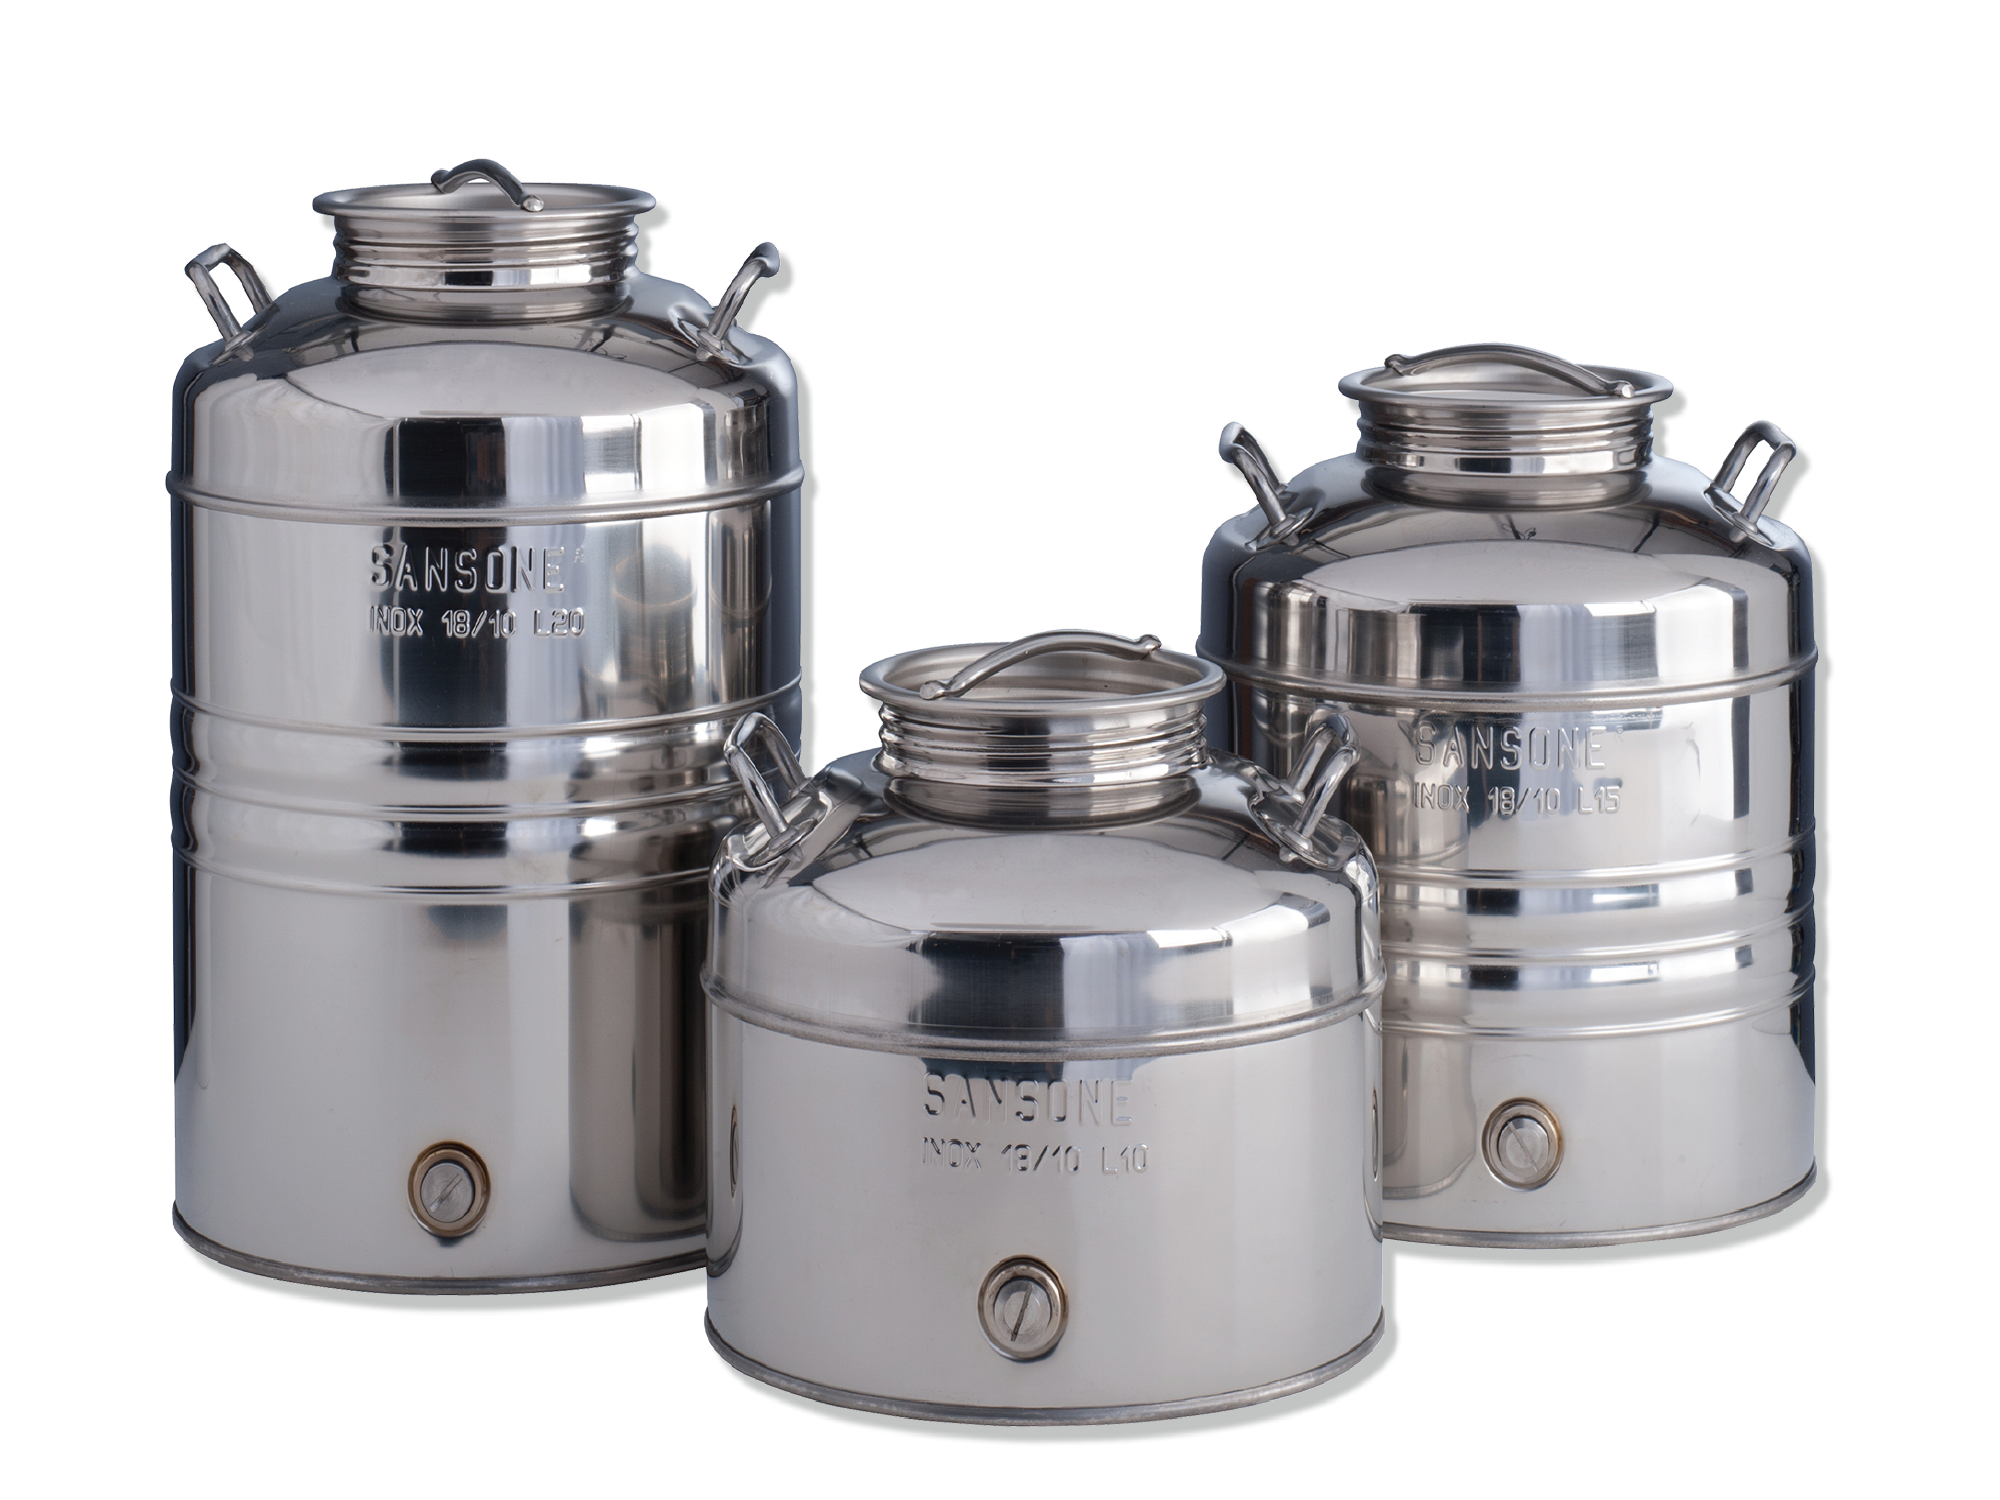
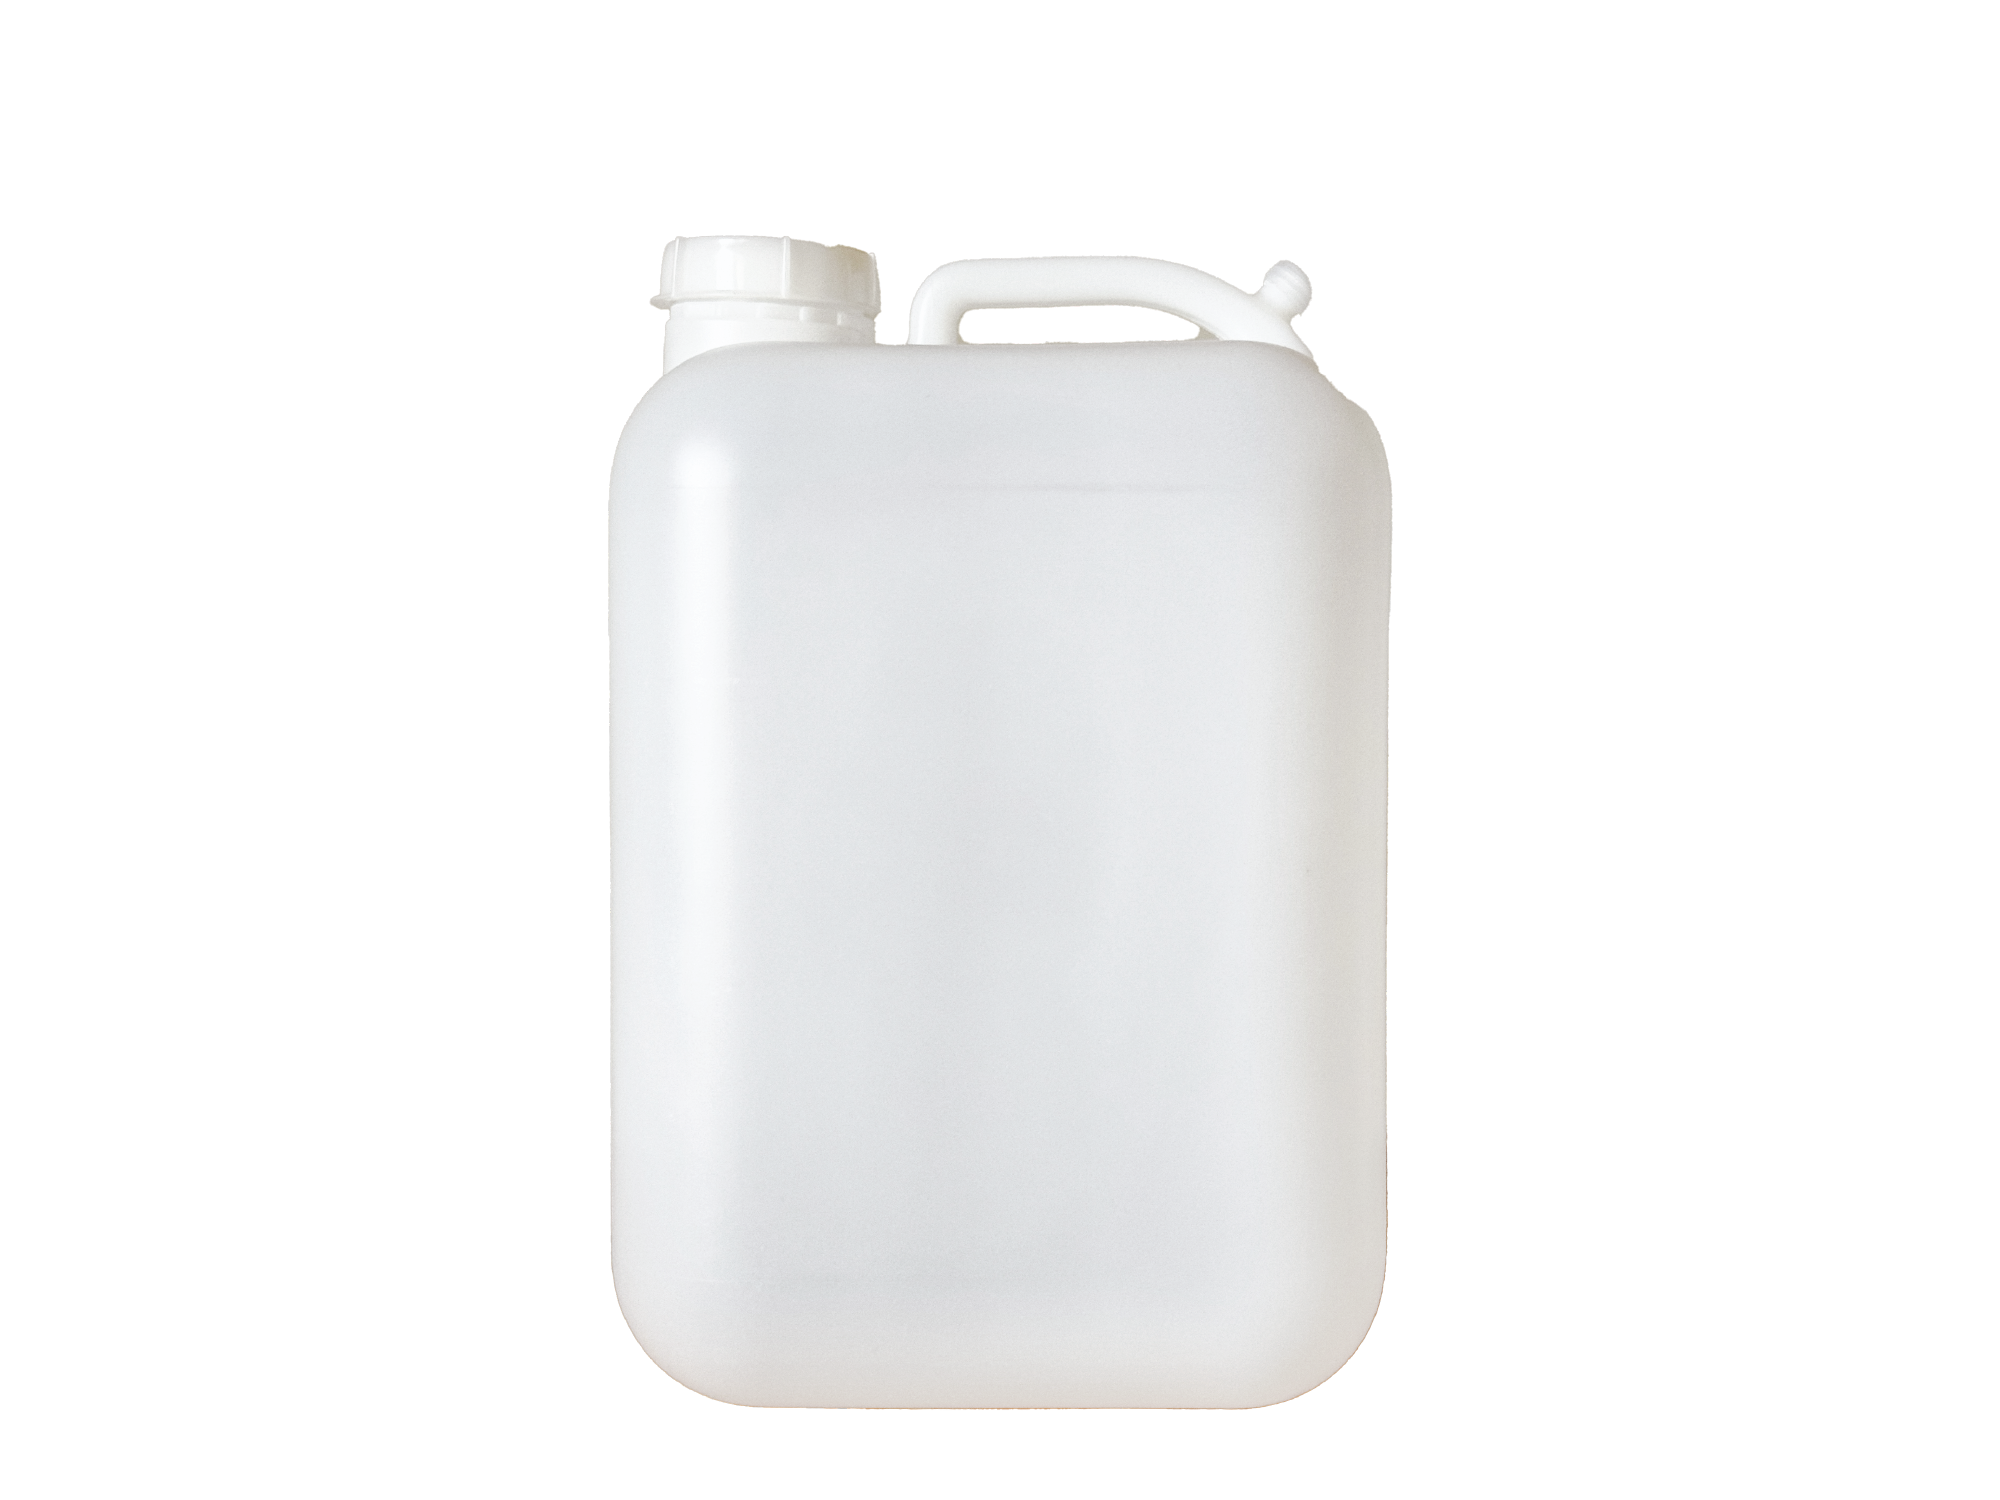
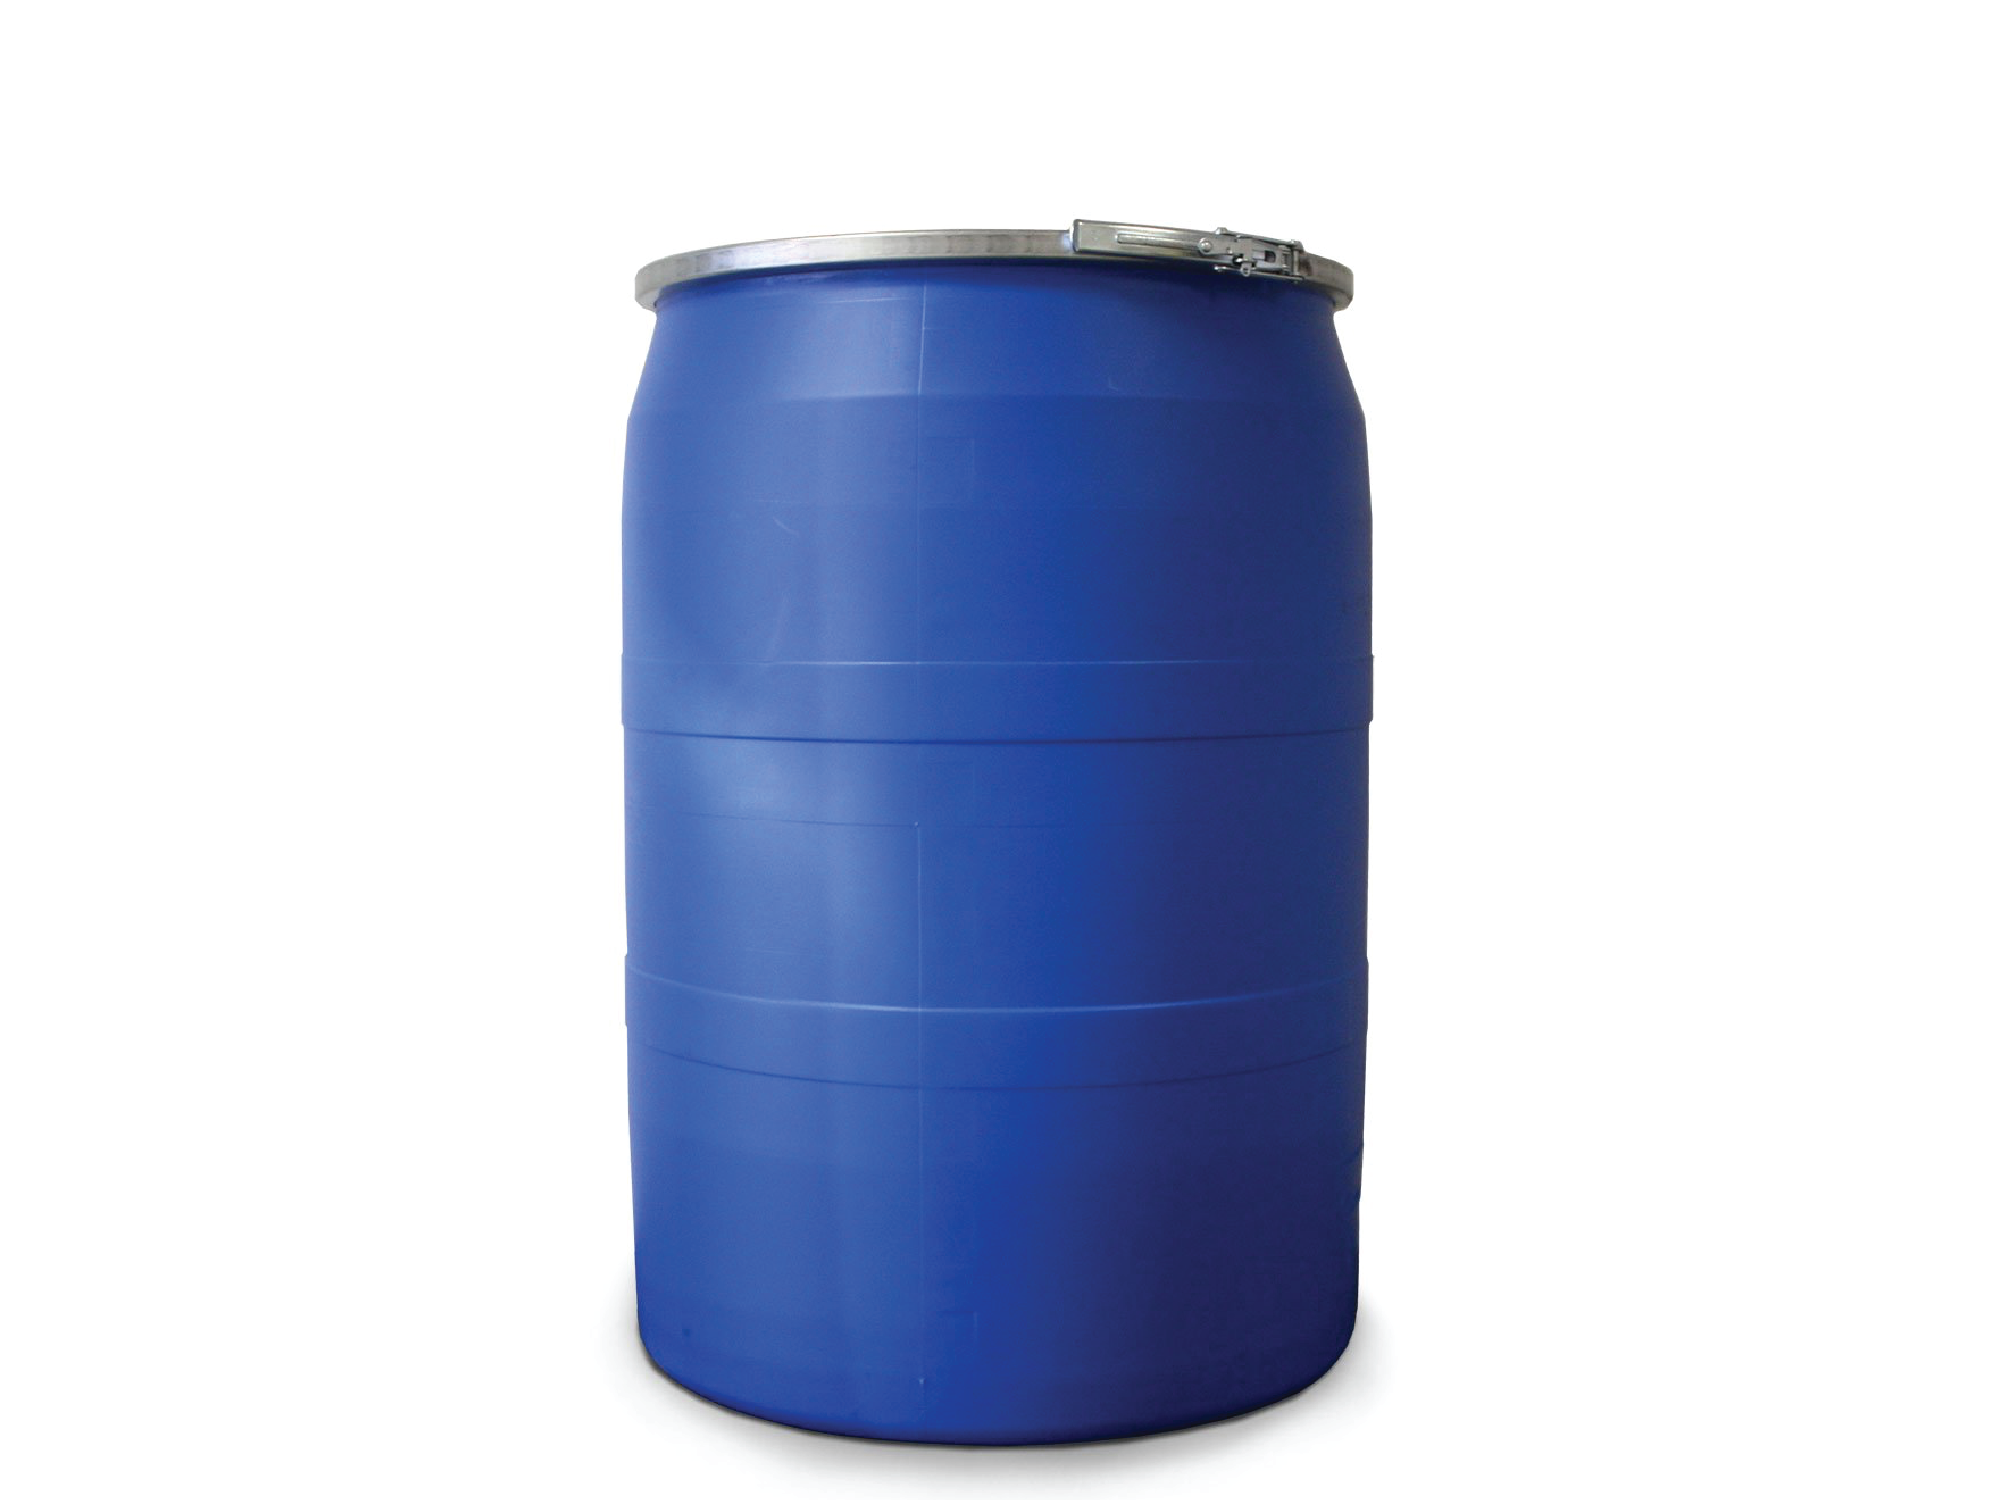
Order olive oil containers for your miller to put the oil in if you don’t have them. These could be 5 gallon containers, 30 gallon drums, or 55 gallon drums. You also need to make sure you have a way to move them once they are full.
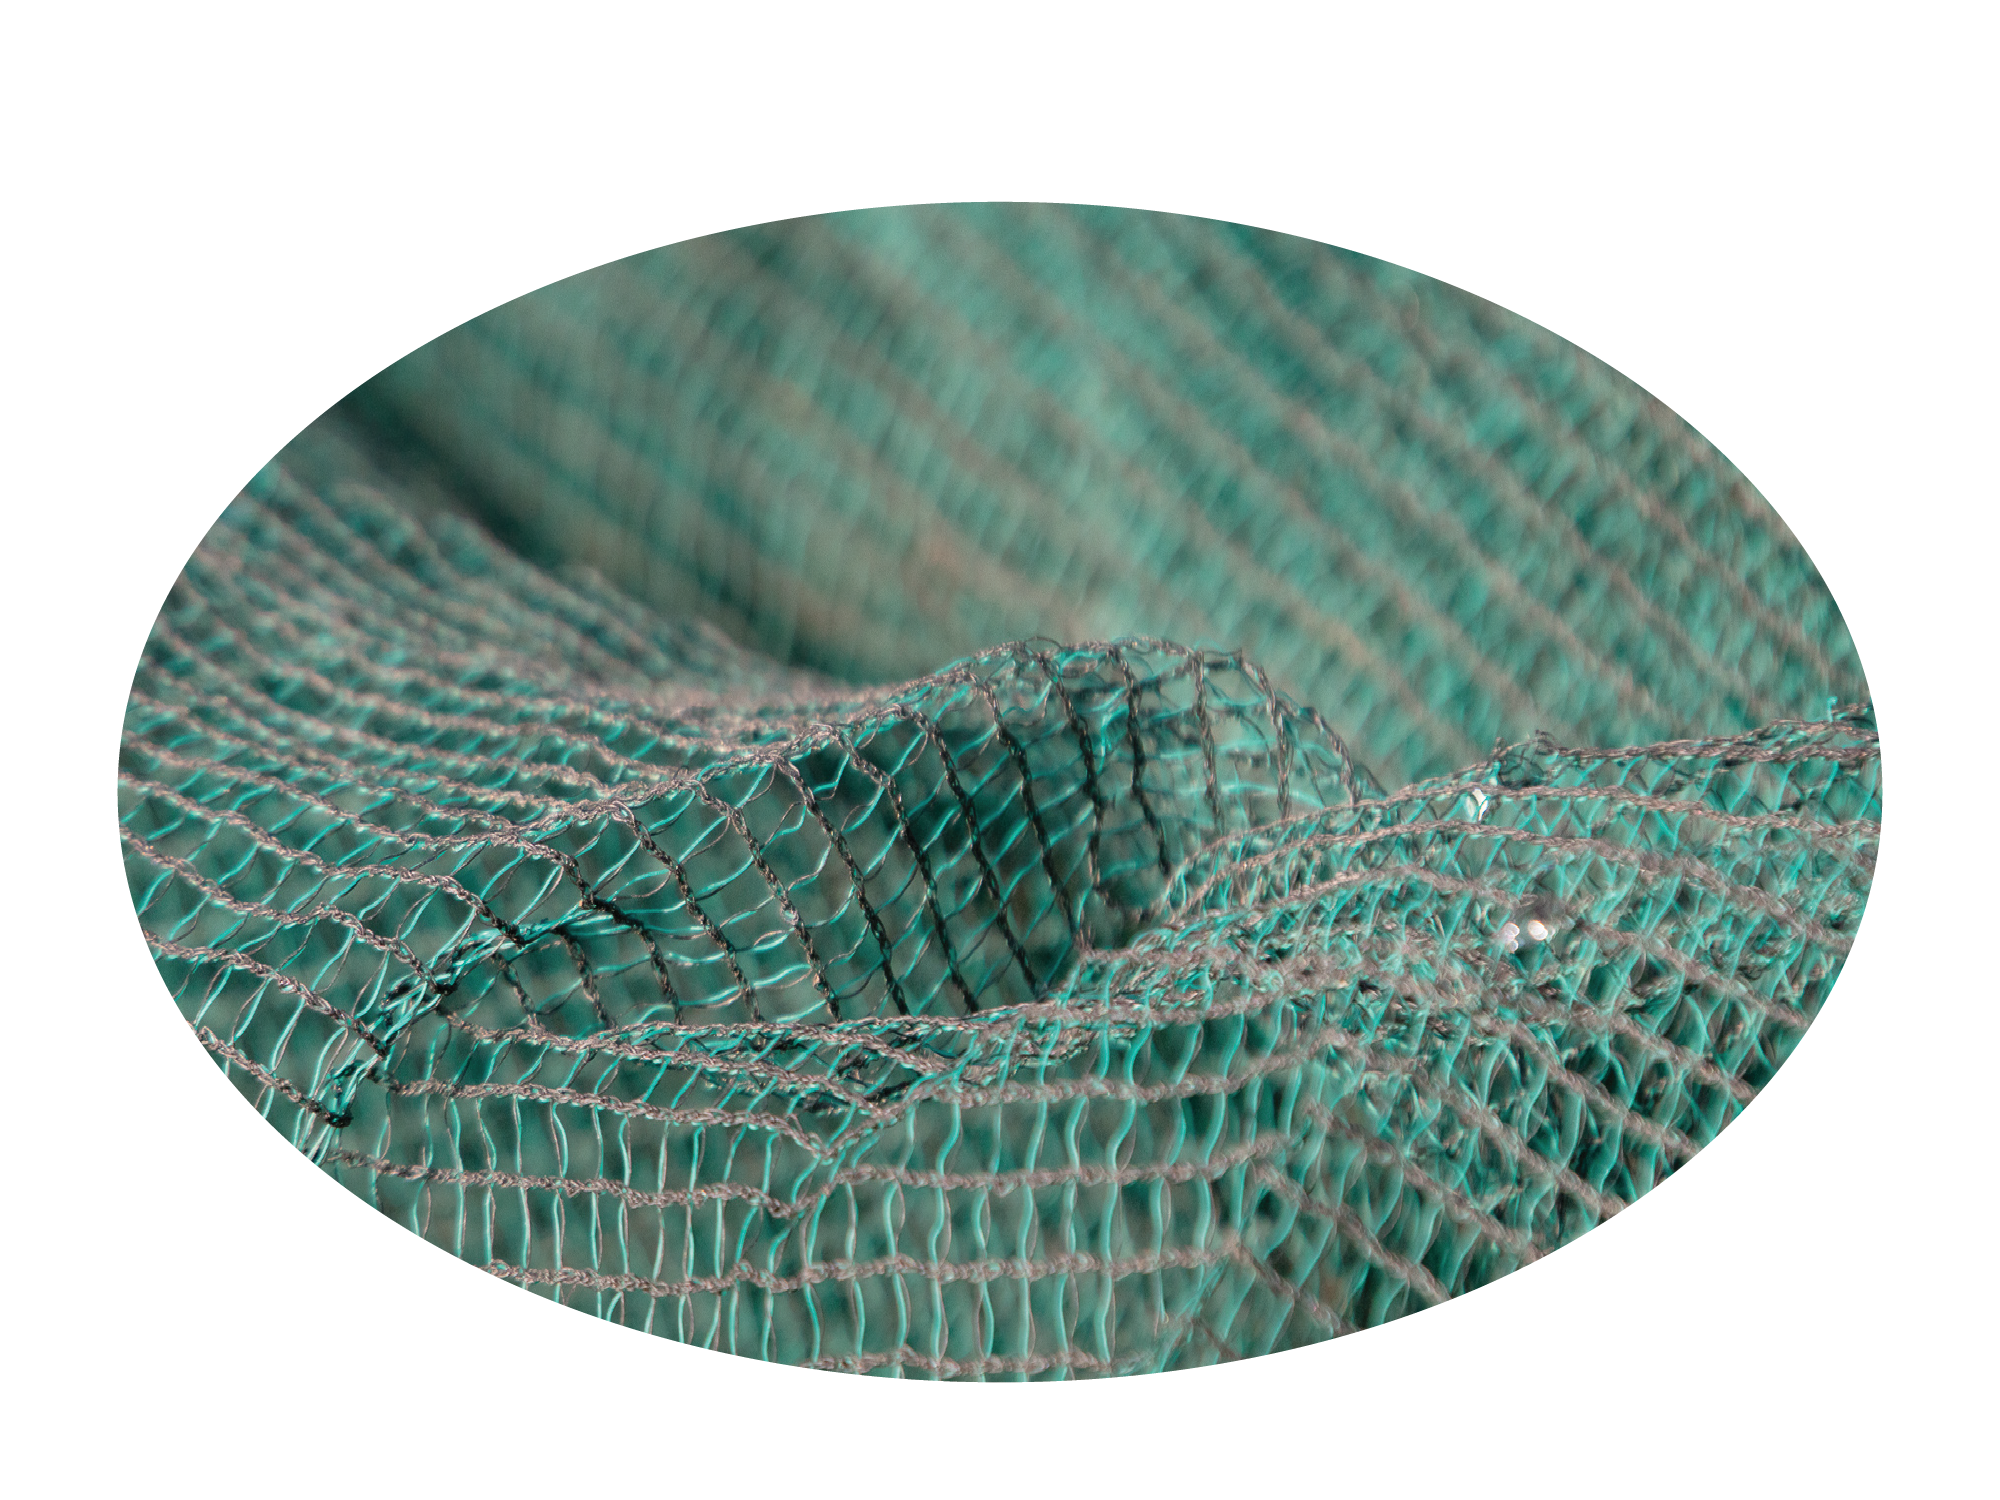
Buy Harvest Netting
~
Buy Stainless Steel Containers
~
Buy Plastic Containers
~
Buy Harvest Netting ~ Buy Stainless Steel Containers ~ Buy Plastic Containers ~
THREE DAYS BEFORE HARVEST
Confirm that your harvest crew is coming.
Confirm your milling date and time.
Confirm transportation.
OLIVE HARVEST AND MILLING
When harvesting olives, the process must be monitored. Try to limit the amount of leaves and branches that go into the bins. Also try to ensure that various objects do not find their way into the bins. (In milling olives for others, we have found everything from razor blades to jewelry).
Have your fruit delivered to the mill. Be mindful of the instructions your miller gave you. They have many clients to deal with and it helps everybody. Allow enough time to finish harvest, drive to the mill and get there on time - it always takes longer than you think.
Remember to send the olive oil containers with the olives. You would be surprised how often this gets overlooked.
AFTER OLIVE MILLING
Pick up your oil containers per the instructions of your miller. Space is often sparse at this time of year, so timeliness is important.
If you want the olive oil racking, bottling, and/or labeling process to be done at the mill, arrange for bottles and labels to be delivered in a timely manner.
Also read The Olive Oil Source’s advice on Olive Harvest Timing.